
Achieving that sleek, classic French tip look at home might seem a bit tricky, yet with the proper tools, it's actually quite within reach. So, many people admire the clean, crisp line of a French manicure, and it's a style that truly never fades. This elegant appearance, you know, makes fingers look longer and more refined, making it a favorite for everyday wear or special moments.
The secret to those perfect white arcs often comes down to one particular item: the nail art brush made specifically for French tips. It's not just any brush; this tool has a special shape and feel that helps you draw those neat lines with more ease. Getting your nails done at a place that offers such kind service and very fast work, where you always go with a smile, often means they use these precise instruments for designs too.
This article will guide you through the different kinds of brushes that help create that signature French tip, how to pick one, and how to use it for results that look like they came straight from a salon. We'll also cover some tips for keeping your brushes in good shape, ensuring they last for many beautiful manicures. After all, a nail is a protective plate characteristically found at the tip of the digits, and we want those protective plates looking their absolute best.
Table of Contents
- The Heart of the Matter: Why a Special Brush?
- Types of Nail Art Brushes for French Tips
- Picking Your Perfect French Tip Brush
- Getting Started: Using Your French Tip Brush
- Keeping Your Brushes Clean and Ready
- Common Challenges and Simple Fixes
- Frequently Asked Questions
The Heart of the Matter: Why a Special Brush?
You might wonder, you know, why can't I just use the brush that comes with my white nail polish bottle? Well, the brushes in regular polish bottles are typically too wide and too soft to create the sharp, crisp line that makes a French tip so appealing. They are made for covering the entire nail plate, not for drawing fine details. A specialized nail art brush for French tips, on the other hand, is designed with very specific tasks in mind, allowing for a much cleaner outcome. It’s a bit like trying to paint a detailed picture with a house painting brush; it just doesn’t quite work out.
These specialized brushes offer a level of control that helps you get that smile line just right, every single time. The bristles are often firmer and come to a much finer point or edge, which is exactly what you need for drawing those delicate curves. This precision helps you avoid messy edges, ensuring your French tips look polished and professional, which is something we all want, naturally.
Types of Nail Art Brushes for French Tips
When you start looking for a nail art brush for French tips, you'll see a few different kinds available, each with its own advantages. Knowing what each one does can help you choose the best tool for your personal style and comfort. Here are the main types you might encounter, so you can pick what feels right for you.
Liner Brushes
Liner brushes are quite slender with very long, fine bristles. They are absolutely fantastic for drawing straight lines and making detailed designs. For French tips, they are often used to sketch out the initial curve of the smile line or to refine any wobbly edges after the main application. You can, for instance, use them to create a very thin, precise white line, giving you a lot of control over the shape. They are really quite popular for their ability to handle fine work.
Striper Brushes
Similar to liner brushes, striper brushes are also long and thin, but they might be a bit shorter or have a slightly different bristle density. They are also excellent for drawing those long, flowing lines needed for a French tip. Some people find them a little easier to manage than very long liner brushes for the curve, offering a good balance between length and control. They are, you know, often a good starting point for someone new to French tip brushes.
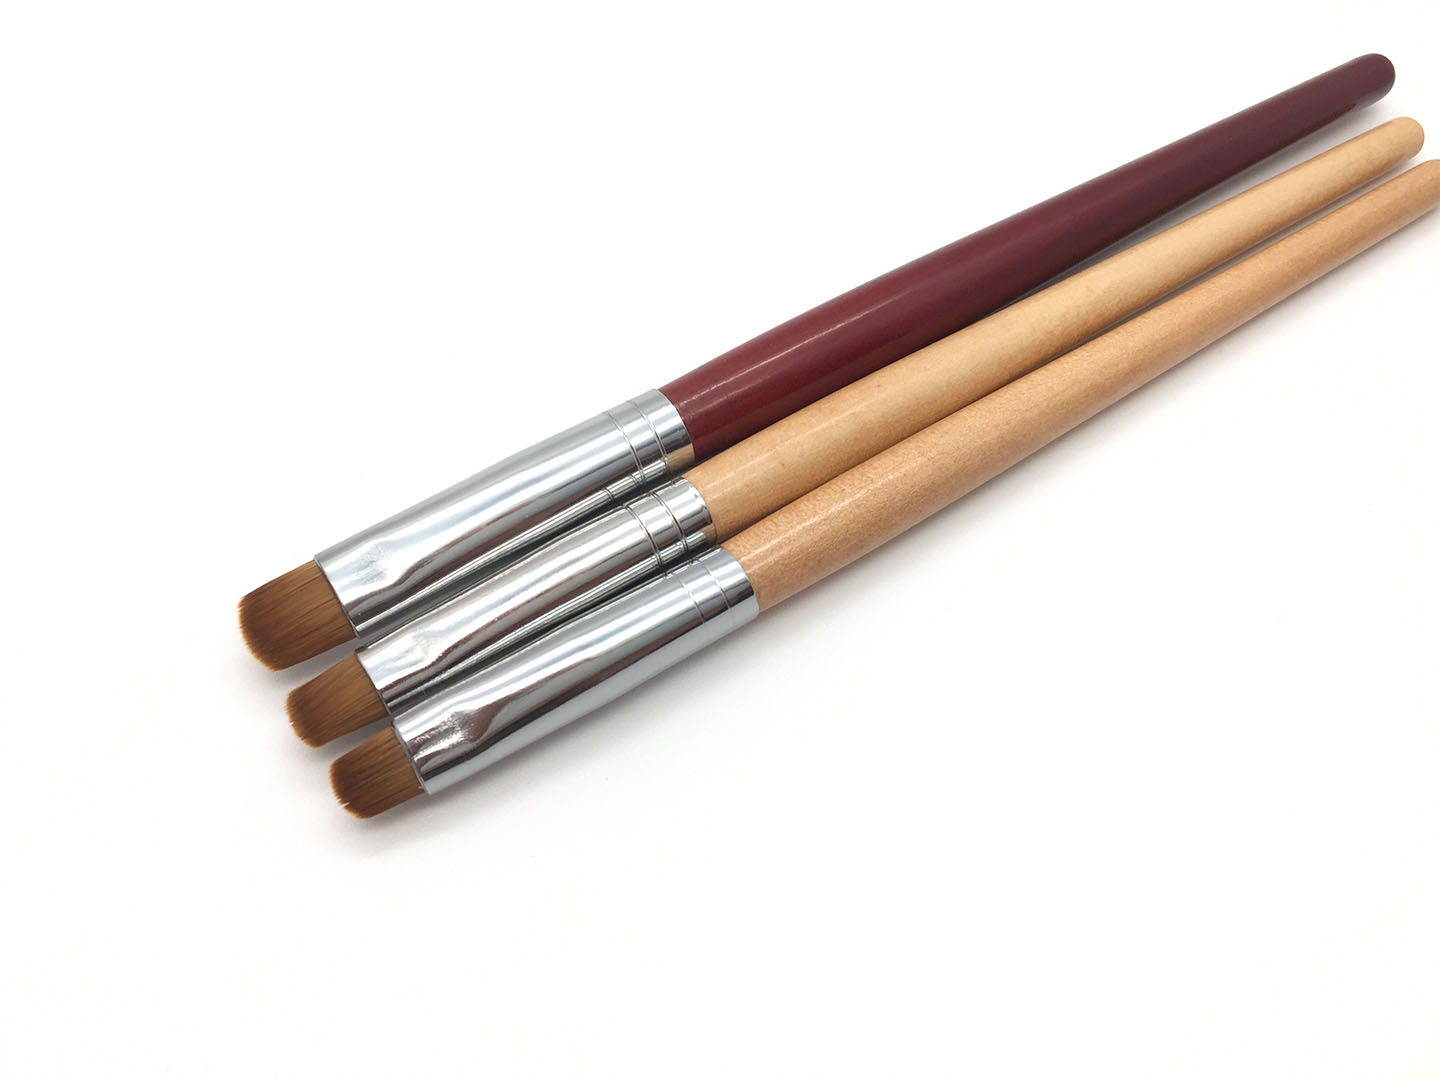
Square or Flat Brushes
These brushes have a flat edge, as their name suggests, and come in various widths. For French tips, a smaller, thinner square brush can be used to create a very crisp, straight tip, or to clean up the smile line. You can, for instance, load a bit of white polish onto the flat edge and gently press it onto the nail to form the tip, then use the edge to perfect the curve. They are, in a way, very useful for achieving a modern, straight-edge French look, which is quite popular these days.
Angled Brushes
Angled brushes have bristles cut at a slant. This specific shape makes them quite useful for creating sharp, angled lines or for drawing a smooth, consistent curve for the French tip. You can use the longer side of the angle to guide your line, or the shorter side for more precise placement. They offer a different kind of control compared to the straight brushes, and some artists find them much more comfortable for drawing the natural curve of the nail. It's almost like the brush naturally helps you form the line, if that makes sense.
Picking Your Perfect French Tip Brush
Choosing the right nail art brush for French tips really comes down to personal comfort and the kind of tip you want to make. Think about the size of your nails and the desired thickness of your French line. For smaller nails, a finer, shorter brush might be more manageable, while longer nails could benefit from a slightly longer liner or striper brush. You want something that feels good in your hand and allows you to make smooth, controlled movements, which is pretty important.
Consider the bristle material too. Synthetic bristles are often preferred for nail polish because they are less likely to absorb the product and are easier to clean. Natural bristles, while sometimes softer, can be harder to maintain when working with polishes. Ultimately, it might take a little bit of trying out different types to find your absolute favorite, and that's perfectly okay, you know.
Getting Started: Using Your French Tip Brush
Once you have your chosen nail art brush for French tips, it's time to put it to use. The process is simpler than you might think, but it does require a steady hand and a bit of practice. Don't worry if your first few attempts aren't perfect; that's part of the fun, really.
Preparing Your Nails
Before any nail art, your nails need to be ready. This means they should be clean, shaped, and free of any old polish. You want a smooth surface for the best results. Remember, fingernail care can help prevent many nail conditions, and healthy nails are the best canvas for any design. A nail, after all, is a protective plate at the tips of the fingers and toes, made from a protein called keratin, so keeping it healthy is a good idea, as a matter of fact.
Applying the Base
Start with a clear base coat to protect your natural nails. Once that's dry, apply a sheer, milky pink or nude polish as your base color. This is the classic French manicure look. Make sure this layer is completely dry before you move on to the tip. Patience here really pays off, you know.
Drawing the Tip with Precision
Now for the main event! Take your chosen nail art brush for French tips and dip it into your white polish. Make sure not to overload the brush; you want just enough polish to draw your line without it being too thick or runny. You can wipe off any excess on the neck of the polish bottle. Then, with a steady hand, gently draw a curved line across the tip of your nail. Some people find it easier to draw from one side to the middle, then from the other side to meet in the middle. Others prefer one continuous stroke. Experiment to see what feels best for you. You can always clean up any mistakes with a clean brush dipped in a little nail polish remover, which is quite handy.
Finishing Touches
Once your white tips are dry, apply a clear top coat. This will protect your design, give it a glossy finish, and help your French tips last longer. A good top coat can really make your work shine, and it helps prevent chips, too. This final step is pretty important for making your manicure durable and lovely.
Keeping Your Brushes Clean and Ready
Proper care for your nail art brush for French tips is essential for its longevity and performance. After each use, clean your brush immediately. You can use a lint-free wipe soaked in nail polish remover or brush cleaner. Gently wipe the bristles until all polish is gone. Avoid letting polish dry on the brush, as this can ruin the bristles and make them stiff and unusable. It’s a simple step that makes a big difference, honestly.
Store your brushes flat or upright in a way that protects the bristles from bending or getting damaged. Keeping them clean and in good shape means they will be ready for your next beautiful French manicure. This simple routine, you know, helps your tools last much longer and perform better.
Common Challenges and Simple Fixes
Even with the right nail art brush for French tips, you might run into a few common issues. Don't get discouraged! If your lines are wobbly, try resting your hand on a flat surface for stability, or even rest your pinky finger on your other hand as a brace. If the polish seems too thick or too thin, adjust the amount on your brush or consider adding a drop of nail polish thinner to your white polish bottle. Sometimes, it's just about finding the right consistency, which can take a little practice.
If your tips are not symmetrical, remember that practice truly helps. You can also use a small, clean brush with a tiny bit of nail polish remover to tidy up the smile line and make it more even. It’s all about gentle adjustments and not being afraid to clean up as you go. You'll get the hang of it, pretty much, with a bit of patience and trying things out.
Frequently Asked Questions
Here are some common questions people ask about creating French tips, as a matter of fact.
What kind of brush do you use for French tips?
For French tips, people typically use very fine liner brushes, striper brushes, small flat square brushes, or angled brushes. Each type offers different levels of control for drawing the curved or straight line at the nail's tip. It really depends on the look you are going for, and what feels comfortable in your hand, you know.
Can you do French tips with a regular nail polish brush?
While it's technically possible, it's quite challenging to get a clean, crisp French tip with a regular nail polish brush. These brushes are usually too wide and less precise for drawing the fine, curved line needed for a classic French manicure. Using a specialized nail art brush for French tips makes the process much easier and the results much better, honestly.
What is the best way to do French tips?
The best way often involves using a specialized nail art brush for French tips, applying a base color, then carefully drawing the white tip. Many people find that a steady hand, proper lighting, and practice are key. Some also use guides or stencils, but a good brush allows for freehand precision. You can learn more about nail care on our site, and also explore other nail art techniques.


Detail Author:
- Name : Christine Quigley
- Username : glover.elmo
- Email : pollich.celine@mcglynn.info
- Birthdate : 1983-06-01
- Address : 69320 Dickens Ports Jaidenbury, TN 73718-2121
- Phone : 607-413-9471
- Company : Brekke, Tillman and Eichmann
- Job : Immigration Inspector OR Customs Inspector
- Bio : In est consequuntur suscipit non excepturi est deserunt. Non debitis cum sit. Omnis sunt soluta ut quas incidunt eos ea. Accusantium aut consectetur rerum voluptatem in velit.
Socials
tiktok:
- url : https://tiktok.com/@luciano.koss
- username : luciano.koss
- bio : Maiores blanditiis voluptatem impedit ab est quo.
- followers : 5906
- following : 1579
facebook:
- url : https://facebook.com/luciano_koss
- username : luciano_koss
- bio : Voluptatem et illo quos qui.
- followers : 6010
- following : 2564
linkedin:
- url : https://linkedin.com/in/kossl
- username : kossl
- bio : Vel sint eaque quia quaerat.
- followers : 6675
- following : 1985
